To ensure the highest print quality and to avoid errors during production, prepare your file according to the following guidelines. We offer graphic assistance in two packages: standard and extended. The order processing time will be extended by 1–3 business days when graphic assistance is selected. Detailed information is available by clicking the info icon in the product configurator when choosing graphic assistance.
Basic Option – “Technical Editing / Simple Design”
For whom? For customers who already have a ready-made design or a simple concept that only requires adjustment for printing.
Service scope:
- Adjusting the client’s file to specific dimensions.
- Minor edits: text replacement, background color change, element arrangement.
- Simple graphics based on text and background.
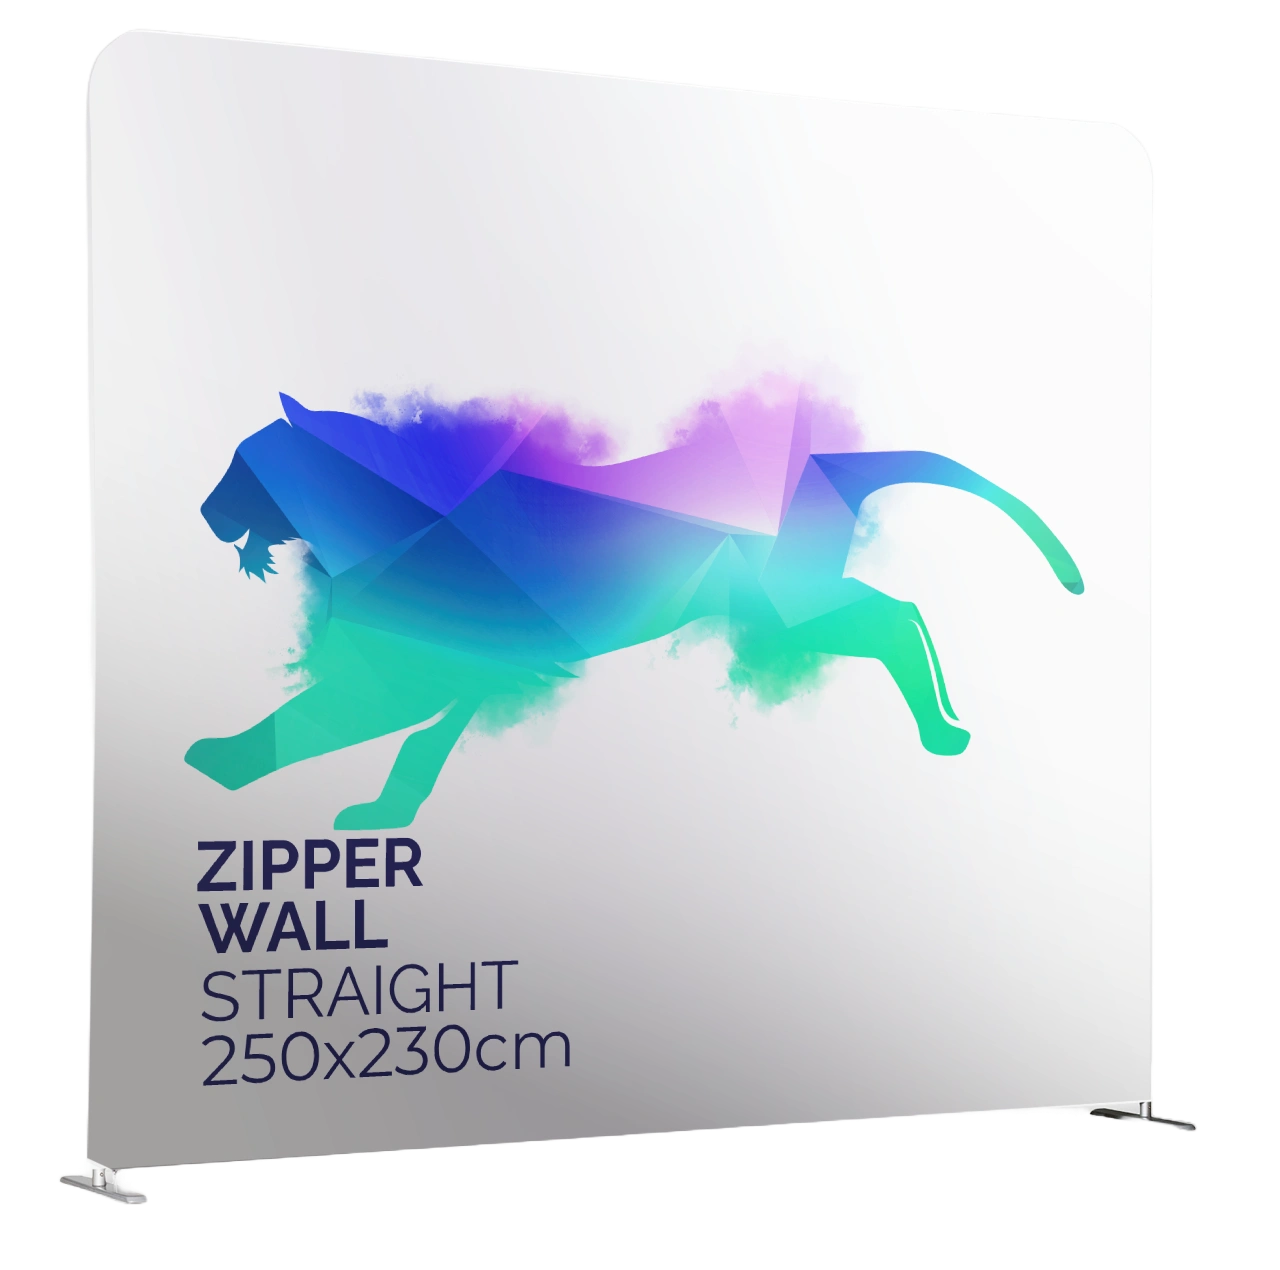
- Logo duplication (e.g., on advertising walls).
- Windflag projects with a ready graphic layout.
- Files provided by the client must be editable.
What we don’t do: we do not create design concepts from scratch, search for photos, improve file quality, or design logos.
Completion time: 1 business day
Extended Option – “Design from Scratch”
For whom? For customers who have all the necessary materials (logo, texts, photos) and need a full graphic design from scratch.
Service scope:
- Creating a brand-new graphic design based on provided files.
- Developing a consistent layout adapted to the format (banner, roll-up, flag, wall, deckchair, etc.).
- Arranging graphic elements, texts, and logos in an attractive and clear way.
- Adjusting proportions, margins, safe zones, and preparing files for print.
- We can recreate graphics based on non-editable files.
- 1 round of revisions included.
What we don’t do: we do not create content, design logos, edit photos, or search for graphics. We only work with materials provided by the client.
Completion time: 2–3 business days
1. Resolution – minimum 100 dpi
The resolution of the file is crucial to the quality of the print. To achieve a sharp and clear image, prepare the file at a resolution of no less than 100 dpi for the actual print dimensions. For large formats such as banners or billboards, 100 dpi is sufficient due to the distance from which they will be viewed.


2. Suitable file dimensions
The file must be prepared in the exact dimensions according to the order. Do not scale the file in preview programs - always design in the actual size. Incorrect dimensions can lead to deformed graphics and printing problems.


3. Safe area - minimum 5 cm from the edge
All important design elements, such as text, logos or key graphics, should be at least 5 cm from the edge of the file. This avoids the risk of them being cut off when trimming the printout.


4. Scale and resolution in raster programmes
If the file is prepared in raster programmes such as Adobe Photoshop, it is recommended to set the resolution to 1000 ppi at a scale of 1:10. This means that a design prepared at a reduced scale (e.g. 1:10) should have a resolution of 1000 ppi, which, when scaled to actual size, corresponds to the required 100 dpi.

5. Fonts converted to curves
To ensure texts are reproduced correctly, all fonts should be converted to curves (known as vectors). This will avoid problems with missing fonts in the printer's system and ensure that texts look exactly as they do in the design.


6. No overprint
Avoid using the overprint option as this may cause some of the graphics to disappear in the print. Make sure the colours are properly set and do not have the overprint option active.


7. Embedding all raster elements
If the project is prepared in programmes such as Adobe Illustrator, all raster elements (e.g. photos) should be embedded in the file and not just linked to it. Failure to embed can result in poor print quality or errors in file processing.


8. Black Color Values in CMYK for Different Printing Materials
To achieve a deep, well-saturated black depending on the type of material, the appropriate CMYK values should be applied:
✔ Textiles: 80/80/80/100 – ensures depth of color and good intensity on fabrics.
✔ Banners: 40/40/40/100 – sufficient saturation to avoid excess ink issues and improve print quality.
✔ Foil: Standard 0/0/0/100 is sufficient, but for greater depth you can use 30/30/30/100.
Correct CMYK settings help avoid printing problems such as smudging, excessively long drying times, or insufficient black saturation.
9. Other information
✔ Files should be prepared in PDF, TIFF or EPS format, preferably without layers.
✔ Colours should be set in CMYK colour space - not RGB.
✔ It is a good idea to add bleed (min. 5 mm) and cut marks if required.
Following the above guidelines will avoid technical problems and ensure the highest quality printed material. If you have any doubts, please contact our customer service department - we will be happy to help!